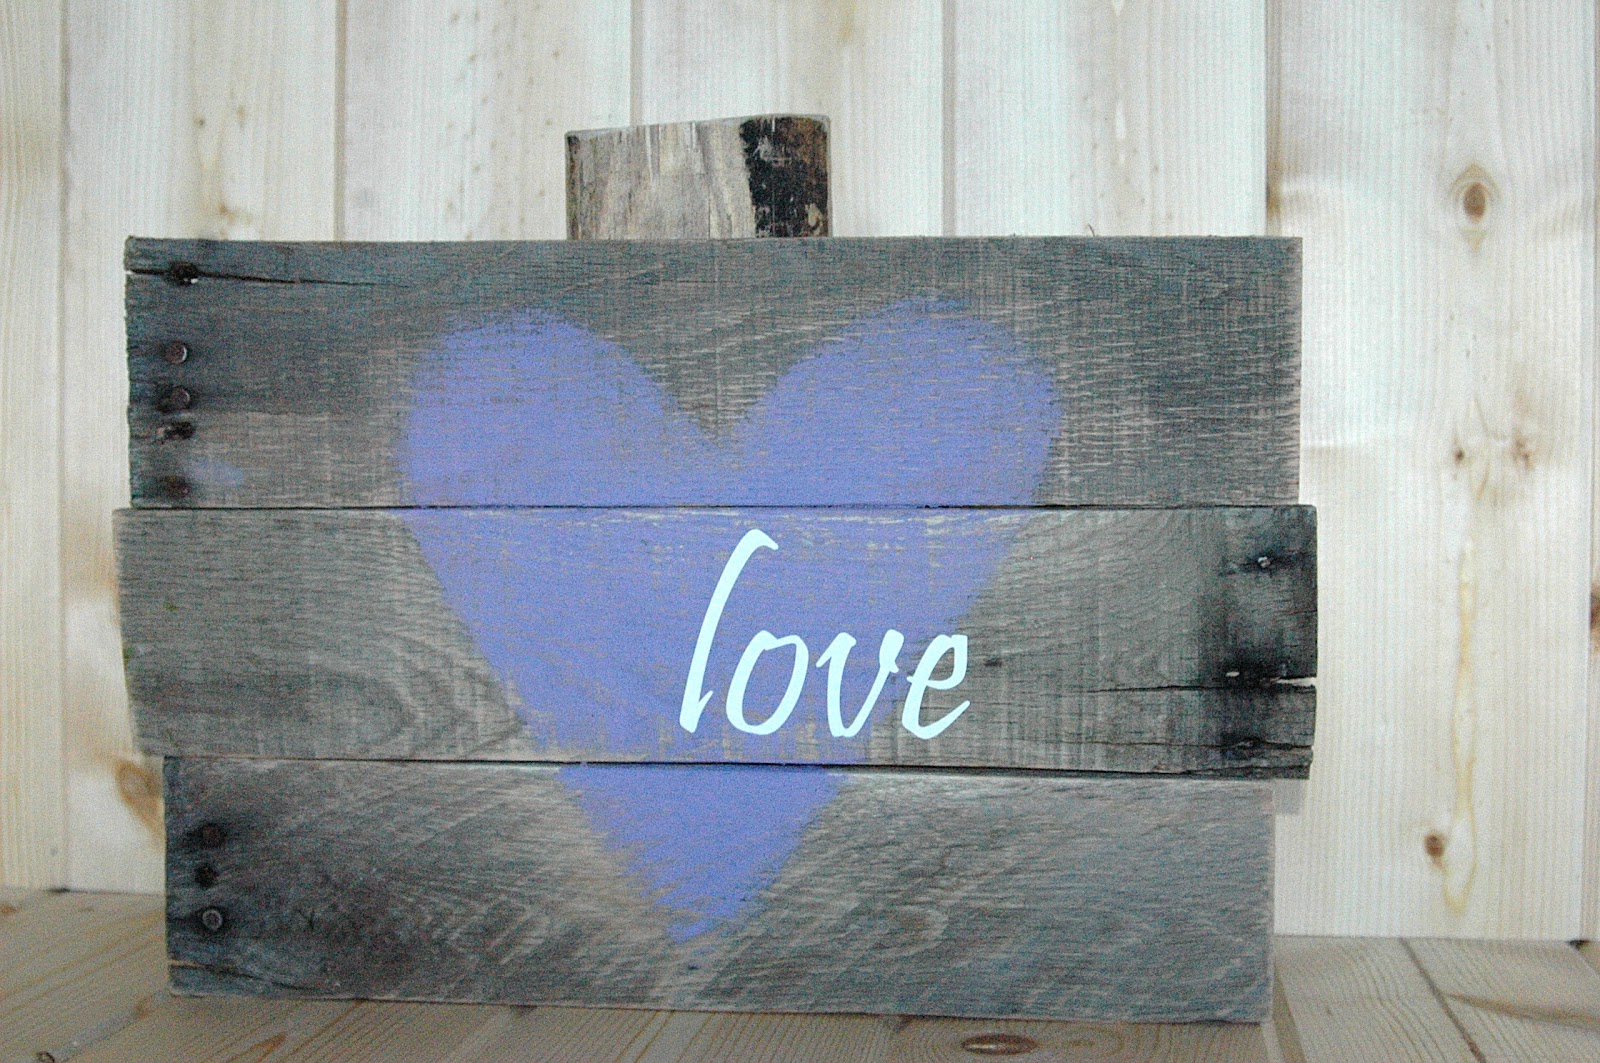
Etsy

Visit my Etsy shop too!!

http://www.etsy.com/shop/AllMyGoodness


Saturday, October 6, 2012

Before and After Remodel- Kitchen table and bench

From black and cherry stain...
I am no where near an expert ....this was just my way of remaking my table and bench, quick directions, pictured are the products I used, but you can use whatever brands work for you.  (The picture of spray top coat sealer was not thick enough, I ended up buying another brand that I could paint on thick) 
 Here is the before picture of my kitchen table and bench started out with black legs
and a darker cherry table top.


sanded the legs...
sanded it all down
 
Spray painted legs with a white primer.

Painted brown paint over the white primer. 
Then spray painted two coats of blue, then sanded when dry.

Then I painted on a walnut stain/sealer to the legs and sides.


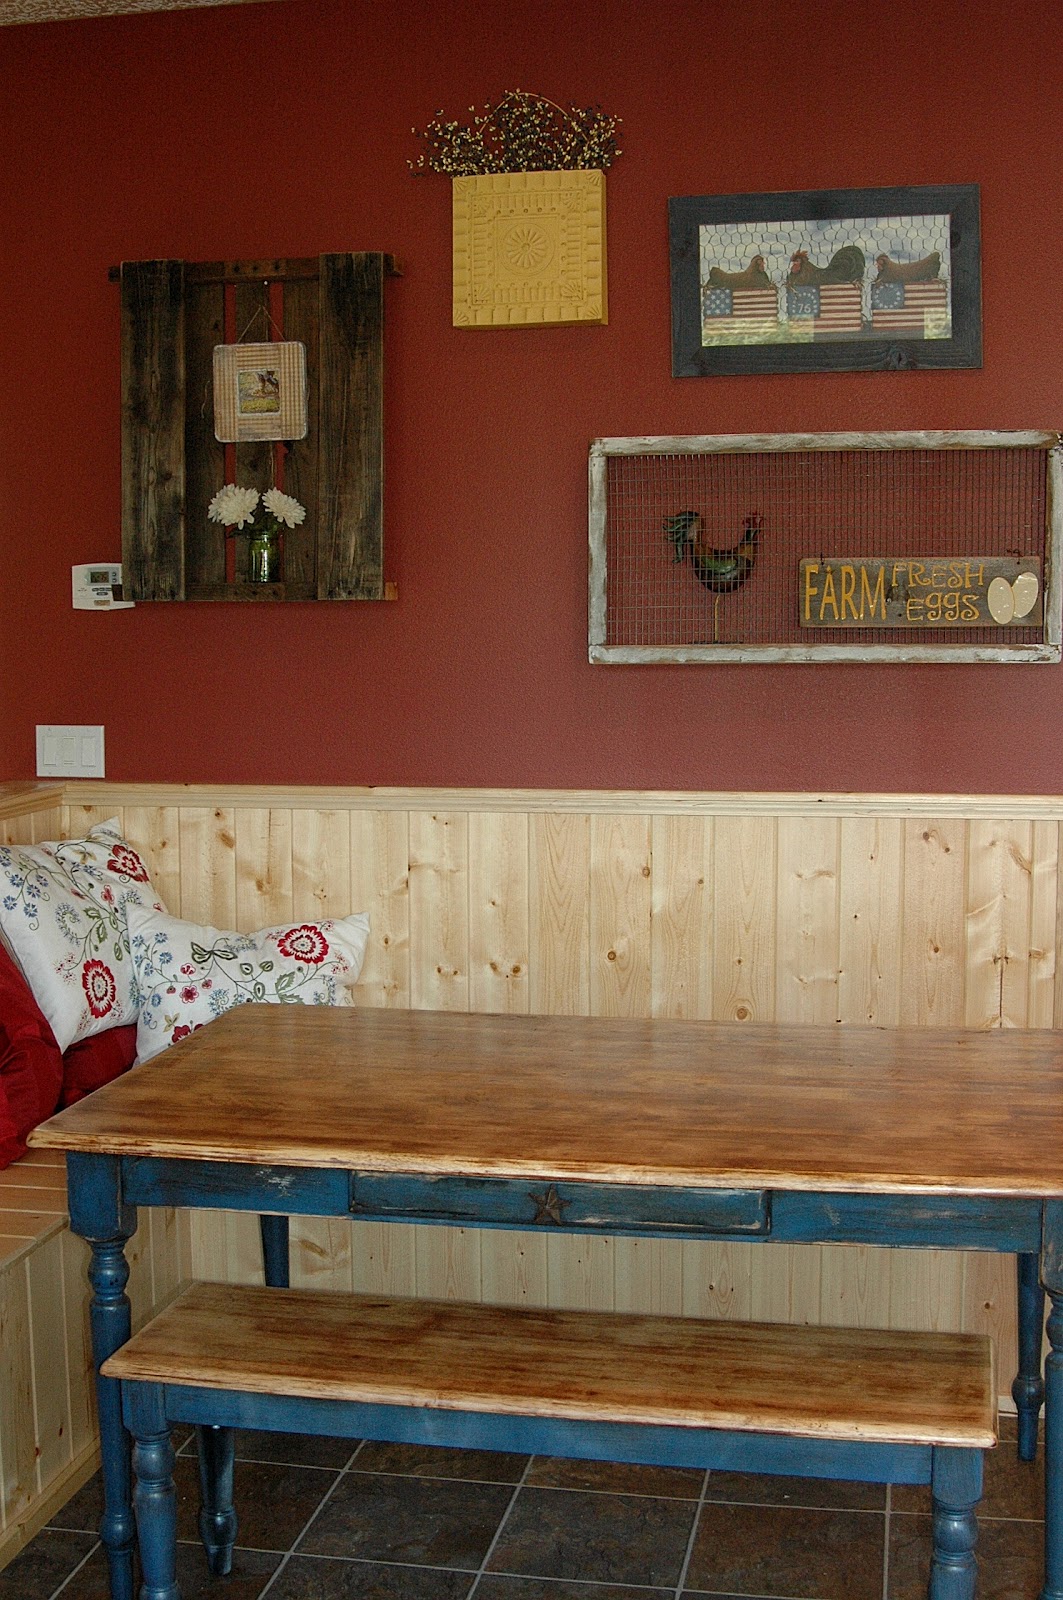
AFTER:  Light, natural stained tops and country blue and antiqued stained legs.
Added clear stain to tops of table and bench, then 2-3 coats of clear sealer.  After of each layer of sealer you need to use very fine sandpaper to smooth down the surface, then add another layer of sealer and sand again.

Now for the awesome "L" shaped bench!!  Wish I could say I knew how to build it, but I don't trust myself to build a bench that will last forever and hold kids (as they jump on it and climb)  so we had our builder, who can make anything build it for us!!  (I'd give him a link to his website, if he had one!!)

Then to put the room together with my "newly remade" table and bench!  After standing in our kitchen to eat most meals for the last 4 years...I love having our table right in our kitchen!  Amazing how nice it is to sit, "relax" (not really- with kids I'm always up to get them something or more food!) and eat~


Monday, October 1, 2012

Before and After Projects- How to build a Dog bed

Step one: Pick out pallet and boards
two: measure wood to fit pallet.

three: nail and glue sides onto pallet

finished bed

pick how you want to paint

Finished!!  Had to add their names on pallet wood and vinyl words.."Dogs leave paw prints on your heart...and all over your home"


Bailey and Bear like their new bed!!

Wednesday, July 11, 2012

More signs and gifts!!

For those of you looking for more signs, gifts,  or fonts...here is more of the collection of things I have made...

Visit my Etsy Shop
http://www.etsy.com/shop/AllMyGoodness


Monday, July 9, 2012

30-minute Bread

30 minute bread
2 cups very warm water
1 packet yeast
2 Tbsp sugar
1 1/2 tsp salt
4 cups flour

Preheat oven to 425 degrees.  In large bowl, mix water, yeast, and sugar.  Let sit about 10 minutes, until foamy.  Stir in salt and flour, knead until dough is soft and not sticky.  (may need a little more/less flour)

Pull dough apart into four separate pieces.  Roll them into long "ropes."  Twist two "ropes" into a loaf, then the other two. 

Bake right away, or let it sit for 20-30 minutes.

Bake at 425 for 15-18 minutes.  (You can put a pan of ice cubes into the bottom of your oven so the steam crisps the bread.)

 
Gotta have a helper!

My family loves this recipe...I have been making it at least twice a week since I found it!  (from blogs.babble.com)  It goes with most meals and if there is a loaf over, the next day it is great sliced in half, spread butter all over, then broil for a few minutes til nice brown and crisp.